




Tree House Maker
Building a little wooden fortress in a tree never gets old, whether you’re eight or thirty-eight. Tree House Maker taps right into that feeling, but instead of hammering nails into actual branches, you design a cozy, multi-story hideout in a quiet forest, one furniture box at a time. This is a slow-burn decorating sim where you open mystery chests, pick paint colors, and drag chairs and lamps around until your tiny wooden sanctuary feels right. It’s not a high-stakes builder—it’s a chill, meditative experience that rewards patience and a good eye for color.
What keeps me coming back is the gradual unlock system. You start with a single, bare platform and a handful of items. As you play, you unlock new floors, more furniture, and extra customization options. The game doesn’t rush you. You can spend ten minutes arranging a single bookshelf or five hours building a four-story treehouse with a rooftop garden. No timer, no enemies, no score to chase. Pure, quiet creativity—and sometimes that’s exactly what you need after a long day.
I remember my first session: I opened a box and got a plain wooden chair. I placed it next to a tiny table, then spent the next twenty minutes deciding if the chair should face the window or the center of the room. That kind of trivial, unhurried decision-making is the whole appeal. The forest background is softly animated—leaves drift down, light shifts through the canopy—and there’s a gentle ambient soundtrack of birds and wind. It’s designed to calm you down, not amp you up.
How to Play
The objective is simple: turn an empty tree into a beautiful, livable home. You’re guided by Leaflette, a cheerful leaf-shaped sprite who pops up with tips and encouragement. She’s not pushy—she helps you get started and leaves you alone once you’re in the groove.
Desktop Controls
On a computer, everything is mouse-driven. Click a box to open it and reveal the furniture inside. Then click an item or color swatch to equip it. To place something, click and drag it to the spot you want. A rotation button (usually a small circular arrow) lets you spin the item to face the right direction. If you change your mind, there’s a delete button to remove the piece. It’s all drag-and-drop, very straightforward, and responsive. The interface never fights you.
You can also use the keyboard’s R key to rotate items in 45-degree increments. That speeds things up when you’re fine-tuning a layout. Hold down the Shift key while dragging, and the item snaps to a grid, which helps keep everything aligned. The grid snapping is subtle—it doesn’t force you into rigid rows, but it prevents that half-pixel-off look that can drive perfectionists crazy.
Mobile Controls
On a phone or tablet, the controls are even more intuitive. Tap a box to open it, tap an item to pick it up, then drag your finger to move it around the treehouse. Rotating is done with a two-finger twist or a dedicated button, depending on your device. The touch interface is smooth, and the game scales well to smaller screens. I actually prefer playing on a tablet because the drag-and-drop feels more tactile—like you’re physically placing furniture.
On very small phone screens, the rotation button can be a bit fiddly. You might accidentally tap it when you meant to drag an item. But you get used to it after a few minutes. The game also supports pinch-to-zoom, so you can zoom in to place a lamp precisely on a nightstand, or zoom out to see the whole floor at once.
The Core Loop
You start with a few basic boxes. Open them, place the items you like, then close the box to get a new one. As you place furniture, you earn coins or points (the game doesn’t make a huge deal of it, but they accumulate). Spend those to unlock new floors and bigger areas. Each floor adds more space and new challenges: the second floor might have a balcony, the third a window seat, and so on. The game doesn’t explain this upfront, but you’ll figure it out as you go.
The boxes come in two types: standard wooden crates and rarer golden chests. Standard boxes give you common items like basic chairs, small tables, and plain rugs. Golden chests appear less frequently, but they contain special pieces: a vintage rocking chair, a hanging lantern, a plush rug with a pattern, or a wall-mounted shelf shaped like a birdhouse. You can’t buy golden chests with real money—they just show up after you’ve placed a certain number of items. That randomness adds a nice layer of surprise. You never know what you’ll get next.
Coins are earned by placing furniture and completing small milestones. For example, placing your tenth item gives you a bonus. The coin counter is always visible in the corner, and you can use coins to unlock new floors, expand the balcony, or buy a new paint color. The paint colors aren’t free—you have to purchase each one separately, but they’re cheap. A new wall color costs about as much as placing a few items. Floor colors and railing colors are separate purchases, so you can mix and match.
Features
Tree House Maker isn’t packed with dozens of modes, but it has a few smart features that keep the gameplay fresh.
Multiple Floors
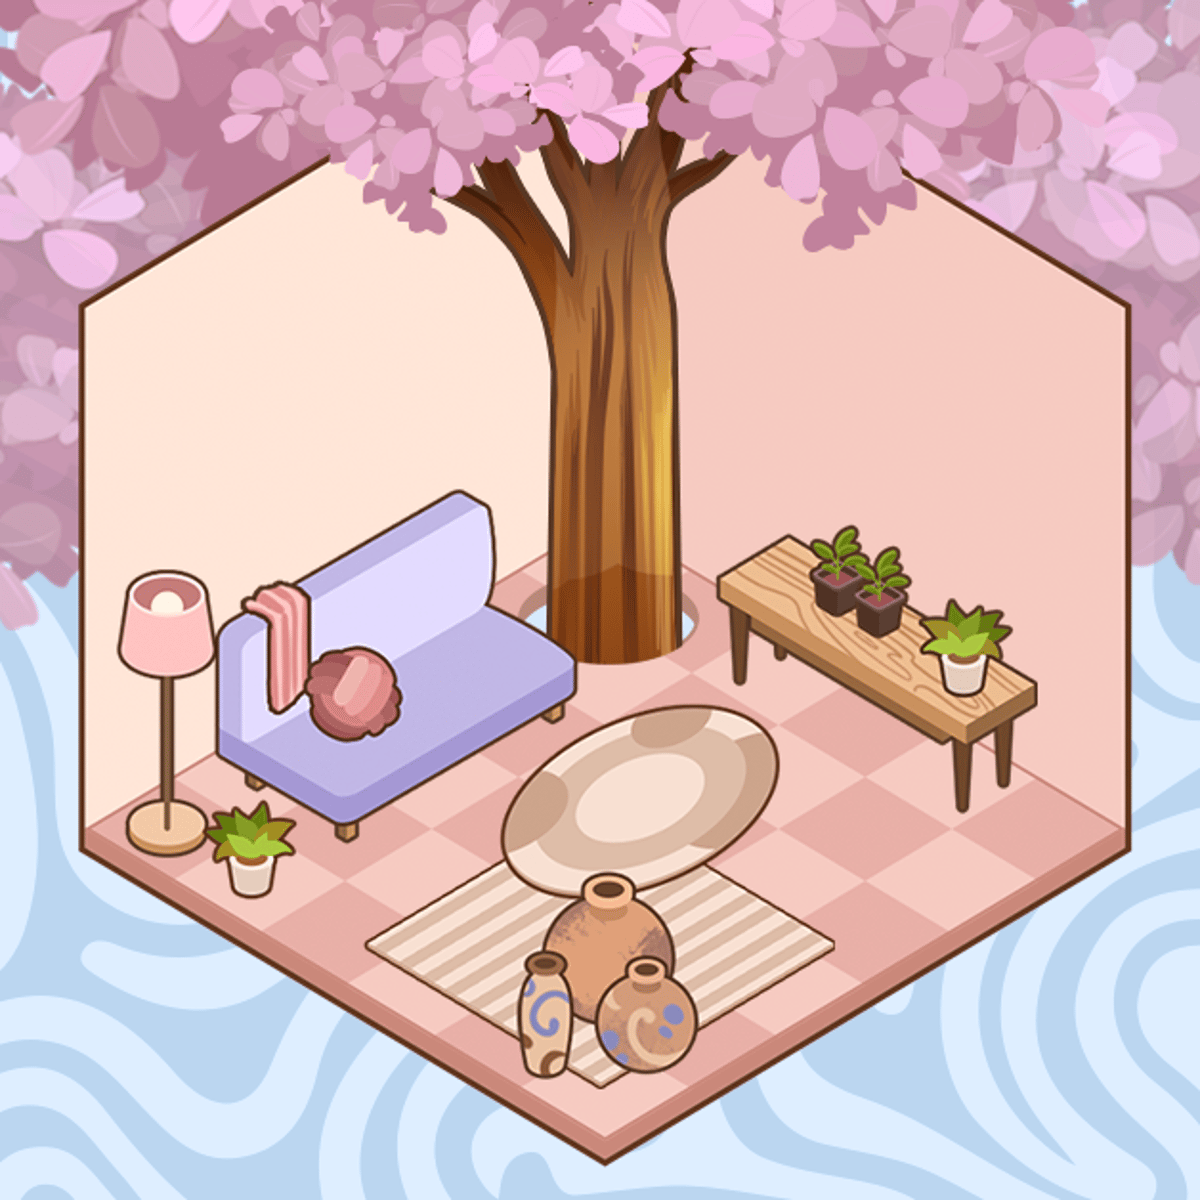
The treehouse expands upward. You start on the ground floor, which is basically a wooden platform with a trunk in the middle. As you progress, you unlock a second floor, then a third, and eventually a roof area. Each floor has its own layout—some are square, some are L-shaped, and the top floor often has open sides for a nice view. This vertical progression gives you a sense of growth. You’re not just decorating a single room; you’re building a whole home, one story at a time.
The second floor is usually the same size as the first, but it has a cutout for the trunk, which forces you to work around it. That’s a fun constraint. You might put a reading nook in the corner opposite the trunk, or wrap a sofa around it. The third floor is often smaller, maybe with a balcony that juts out over the first floor. The top floor is an open deck with a railing—perfect for a potted plant, a telescope, or a bench. Some players turn it into a rooftop garden with flowers and a tiny fountain. I’ve seen screenshots where the deck is almost empty except for a single chair facing the sunset. Minimalist, but gorgeous.
Furniture Variety
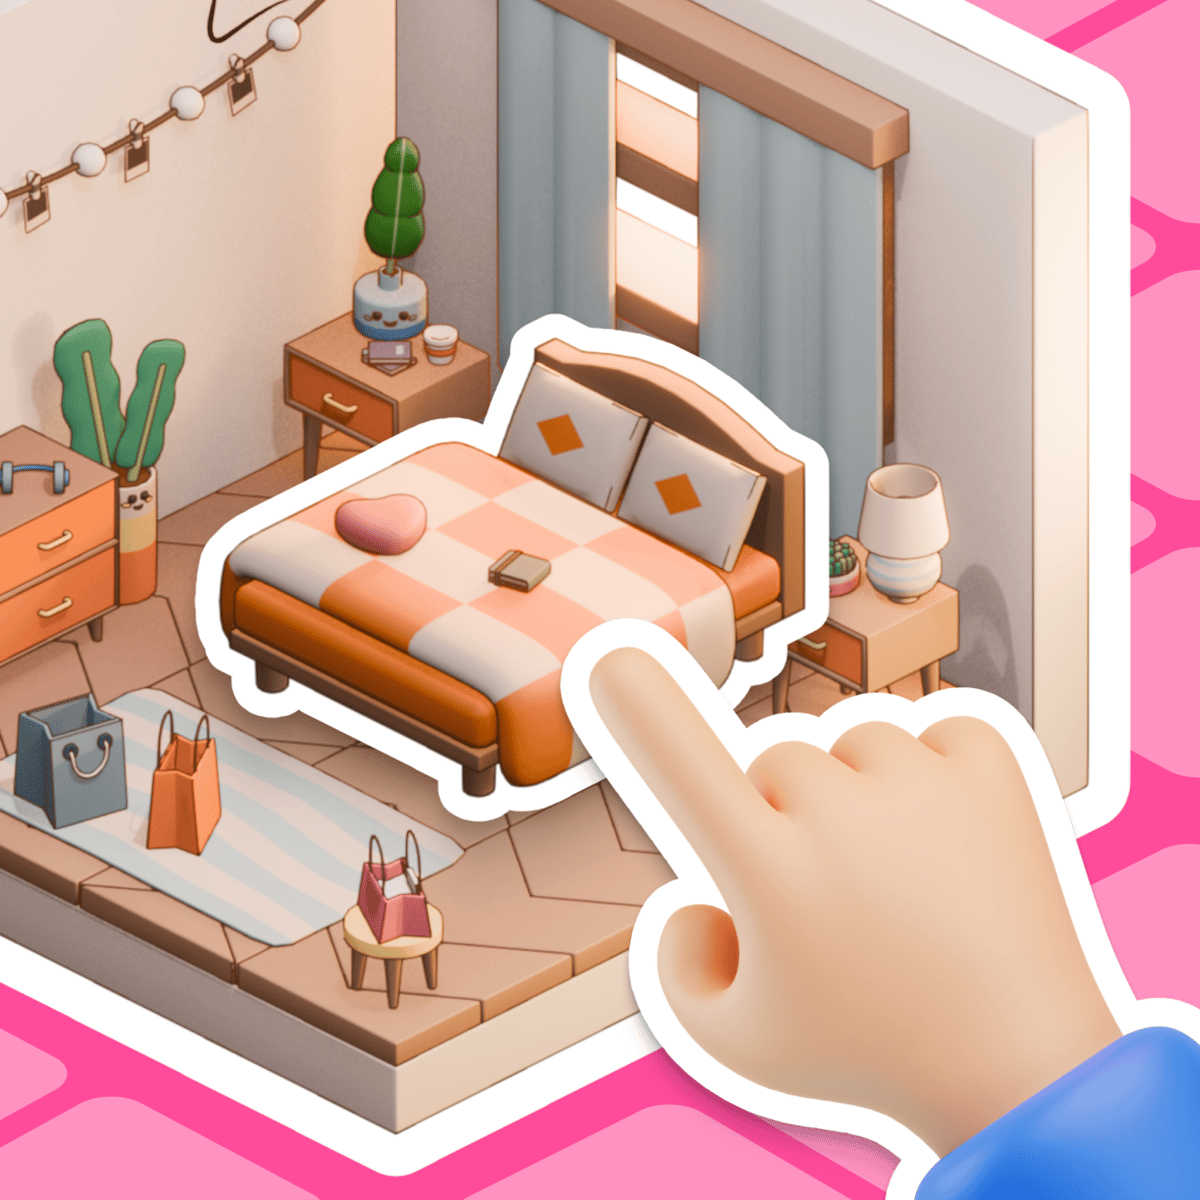
The boxes contain a surprisingly wide range of items: beds, chairs, tables, rugs, lamps, plants, bookshelves, wall art, and even little decorations like stuffed animals and potted cacti. There are also color options for walls and floors. You can paint the walls soft blue, warm yellow, or a cozy brown. The furniture comes in different styles—some modern, some rustic, some whimsical. You can mix and match, or stick to a theme. The game doesn’t judge.
Let’s talk specifics. The beds come in three sizes: a single cot, a double bed, and a canopy bed with sheer curtains. The chairs range from basic wooden dining chairs to plush armchairs with patterned upholstery. There’s a rocking chair that actually rocks when you click on it. The tables include round coffee tables, rectangular dining tables, and tiny side tables that fit perfectly next to a bed. Rugs come in solid colors, striped patterns, and even a few with floral designs. Wall art includes framed paintings of landscapes, abstract shapes, and a mirror that reflects the room.
Plants are a big deal. You get potted ferns, small succulents, hanging ivy, and a bonsai tree. Place a few plants around, and the treehouse immediately feels more alive. There’s also a selection of lamps: floor lamps, table lamps, hanging lanterns, and string lights that you can drape along the ceiling. The string lights are one of my favorite items—they add a warm glow and make the place feel like a fairy tale.
Color options for walls and floors are unlocked gradually. The first few are free: white, beige, and light wood. As you earn coins, you can buy deeper colors like forest green, navy blue, and terracotta. There’s also a “wallpaper” option that gives you a subtle pattern, like stripes or a brick texture. You can paint each floor a different color, or keep them consistent. I like to use warm colors on the lower floors and cool colors on the upper floors to create a sense of lightness as you go up.
Photo Mode
Once you’re happy with a floor or the whole treehouse, you can take a photo. The game gives you a camera icon, and you can frame the shot however you want. The photos are saved to your device, and you can share them with friends or just keep them as a record of your builds. It’s a nice way to show off your creativity without needing any external tools.
Photo mode has a few options. You can choose between a wide-angle lens that captures the entire floor, or a close-up mode that focuses on a specific corner. You can also adjust the time of day: morning, afternoon, sunset, or night. The lighting changes dramatically. At sunset, everything gets a golden hue. At night, the lamps and string lights turn on, and the sky is filled with stars. Taking a photo at night with all the lights on is stunning. I’ve spent twenty minutes just moving a lamp around and taking test shots to get the perfect warm glow.
There’s no filter or editing tool built in, but you don’t really need one. The game’s art style is clean and charming, and the lighting does the work for you. You can also hide the UI by tapping a button, so your screenshots are clean.
Leaflette’s Guidance
The little leaf character isn’t just decoration. She pops up to give you tips about new features, like “You can rotate items by tapping the arrow!” or “Try placing a rug under the bed.” It’s gentle hand-holding, not handcuffing. Experienced players can ignore her, but newcomers will appreciate the nudge.
She also has some personality. Sometimes she’ll comment on your choices: “That lamp looks great there!” or “This floor is really coming together.” It’s a small touch, but it makes the game feel less lonely. You’re not just decorating in a vacuum—someone (or something) is appreciating your work. Leaflette also gives you hints about upcoming unlocks. For example, after you place your twentieth item, she might say, “You’re doing so well! I think you’ll unlock the second floor soon.” It’s a nice way to pace the progression without showing a progress bar.
Tips and Strategies
Tree House Maker is a slow game, but there are a few tricks that can make your treehouse look better and save you time.
Open Boxes Strategically
You don’t have to open every box as soon as it appears. Sometimes it’s better to wait until you have a clear idea of what you want for a specific floor. If you open too many boxes at once, you’ll end up with a pile of furniture that you don’t know where to put. I like to open one box, place the item, and then open the next. That way, I’m always working with a single new piece, which feels less overwhelming.
But there’s a counter-strategy: if you’re hunting for a specific item—say, a canopy bed—you might want to open boxes rapidly to increase your chances. The game doesn’t penalize you for having a messy inventory; you can always delete items later. So if you’re in the mood for a treasure hunt, go ahead and open ten boxes in a row. Just be prepared to spend a few minutes deleting the stuff you don’t want.
Plan Your Layout Before Placing
It’s tempting to just drop furniture anywhere, but you’ll get a much nicer result if you think about the flow. Where will the bed go? Should the rug be centered or off to the side? Is there enough room to walk around? Take a moment to visualize the room before you start dragging. The game doesn’t punish you for moving things later, but it’s easier to get it right the first time.
I like to start with the largest piece of furniture—usually the bed or a sofa—and place it first. Then I build around it. For example, if the bed is against the back wall, I’ll put a nightstand on one side and a lamp on the other. Then a rug in front of the bed, and maybe a small bench at the foot. That creates a natural zone. Then I move to the other side of the room for a reading corner or a dining area. Thinking in zones helps avoid a scattered look.
Use Rotation Liberally
The rotation button is your best friend. A chair that faces the wall looks awkward, but turn it toward the center of the room and suddenly the whole space feels inviting. Same with tables and lamps. Don’t be afraid to spin items multiple times to find the perfect angle. Some items look completely different when rotated—a bookshelf on its side becomes a low table, for example.
Here’s a specific tip: if you place a rug, rotate it so the pattern aligns with the floorboards. Most rugs have a subtle texture or stripe, and if it’s rotated 45 degrees, it can look off. Also, consider rotating chairs to face each other if you want a conversation area. And lamps should generally face into the room, not toward a wall. Small adjustments make a big difference.
Don’t Ignore Color Coordination
The game gives you a lot of color options, and it’s easy to go wild. But a treehouse with four different wall colors on the same floor usually looks chaotic. Pick a palette—two or three colors that work together—and stick to it. Warm tones (browns, oranges, yellows) give a cozy cabin feel. Cool tones (blues, greens, grays) feel more modern and airy. You can mix them, but do it intentionally.
For example, I once did a “forest” theme on the ground floor: dark green walls, brown floor, and furniture in shades of wood and cream. The rug was a deep green with a leaf pattern. It felt like a woodland retreat. On the second floor, I switched to a “beach” theme: light blue walls, white floor, and furniture in pale wood and white. I added a few seashell decorations and a hanging net. Each floor had its own personality, but the transition felt natural because I kept the wood tones consistent.
Save Your Best Items for Later Floors
The early boxes often contain basic items like plain chairs and small tables. The later boxes have fancier stuff: canopy beds, ornate mirrors, hanging lanterns. If you use all your best furniture on the first floor, the upper floors will look sparse. I like to keep a mental (or actual) inventory of my favorite pieces and save them for the top floor or the balcony, where they’ll be more visible.
But don’t hoard everything. The game gives you plenty of boxes, and you’ll eventually get duplicates. If you really love a certain lamp, use it on the first floor. You’ll probably find another one later. The key is to balance: use enough good items on each floor so that none feels neglected.
Take Photos as You Go
Even if you don’t plan to share them, taking photos at each stage helps you see your progress. It’s also a good way to spot mistakes. A rug that looked fine in the game might look crooked in a screenshot. You can then go back and fix it. Plus, it’s satisfying to look at your first floor and compare it to your final build.
I also use photos to plan. I’ll take a picture of an empty floor, then draw on it mentally (or on paper) where I want to put things. It helps me avoid the “I’ll figure it out as I go” trap, which often leads to a cluttered mess.
Common Mistakes
New players tend to fall into a few traps. Here’s what to watch out for.
Overcluttering the Space
It’s easy to get carried away and fill every inch of the treehouse with furniture. But a cluttered room feels cramped and messy. Real treehouses are small, so you need to be selective. Leave some empty floor space. A single armchair with a lamp next to it looks more intentional than ten chairs crammed into a corner. Less is often more.
I’ve seen screenshots where every square inch is covered—a bed, two tables, three chairs, four plants, a rug, a bookshelf, and a lamp all within a 3x3 area. It looks like a hoarder’s paradise. Instead, try to create breathing room. If you have a large rug, leave some floor visible around it. If you have a bookshelf, don’t put another piece of furniture directly in front of it. Let each item have its own space.
Ignoring the Delete Button
If you place an item and later decide you don’t want it, don’t just drag it to a corner. Use the delete button to remove it completely. Otherwise, you’ll end up with a pile of unwanted items that block your view and make the game laggy. The delete button is usually a small trash icon or an X. Tap it, then tap the item you want to remove.
I’ve made this mistake myself. I placed a chair, then decided it didn’t fit, so I dragged it to the far corner of the floor. Then I placed another chair there, and another. Soon the corner was a jumble of furniture, and I couldn’t see what I was doing. Deleting is faster and cleaner.
Not Rotating Items
I’ve seen players place a sofa facing the wall and then wonder why the room looks weird. Rotating is essential. Almost every item can be rotated in 45-degree increments. Take the extra second to spin it until it looks natural. A table that’s aligned with the floorboards looks much better than one that’s at a random angle.
A common mistake is placing a bed so that the headboard is against a wall, but the foot of the bed faces a window. That’s fine, but if the bed is sideways to the door, it can block the flow. Think about how you would move through the room. Rotate items so that they guide the eye and create pathways.
Rushing Through Floors
Because the game is so relaxing, some players try to unlock all floors as fast as possible. They place furniture haphazardly, open boxes without looking, and then move to the next floor. By the time they reach the top, they realize their treehouse is a mess. Slow down. Enjoy each floor. Spend time arranging things. The game isn’t going anywhere.
I’ve done this too. I rushed to unlock the third floor, only to realize my ground floor was a disaster zone—mismatched furniture, cluttered corners, and a weird color scheme. I had to go back and redo it, which took longer than if I had just taken my time in the first place. The game rewards patience.
Forgetting About Lighting
The treehouse has natural light coming through the windows and open sides, but you can enhance it with lamps and lanterns. Placing a lamp near a dark corner makes the whole room feel warmer. Don’t rely solely on the in-game daylight—add your own light sources. It makes a huge difference in screenshots.
A good rule of thumb: place at least one light source per floor. A floor lamp in the corner, a table lamp on a nightstand, or string lights along the ceiling. If you have a balcony, a hanging lantern adds a cozy touch. And if you take photos at night, the lighting becomes the star of the show.
FAQ
Q: Can I play Tree House Maker on my phone?
Yes. The game works on both computers and mobile devices. The controls are touch-friendly, and the interface scales well to smaller screens.
Q: Is there a way to undo a placement?
Not directly. You can delete an item and then place it again, but there’s no “undo” button. If you accidentally remove something, you’ll have to open a new box to get it back, or hope you have a duplicate.
Q: How many floors can I build?
The game currently supports up to four floors, including a roof area. The exact number may change with updates, but as of now, you can build a ground floor, two upper floors, and a top-level open deck.
Q: Do I need to pay real money to unlock items?
No. Everything is earned through gameplay. You open boxes by playing, and you earn coins by placing furniture. There are no microtransactions or paywalls.
Q: Can I save my treehouse and come back later?
Yes. The game automatically saves your progress. You can close the browser or app and return to your treehouse exactly as you left it.
Q: Is there any multiplayer or sharing feature?
Not directly. You can take photos and share them manually, but there’s no in-game gallery or way to visit other players’ treehouses. The focus is on personal creativity.
Q: Can I reset my treehouse and start over?
There’s no built-in reset button, but you can delete all items manually. That would take a while. Alternatively, you can clear your browser cache or reinstall the app, but that might delete your progress entirely. It’s easier to just start a new floor and leave the old one as a memory.
Q: How do I get more golden chests?
Golden chests appear randomly after you place a certain number of items. The exact trigger isn’t documented, but I’ve noticed they show up more often when I’m actively decorating a new floor. Just keep placing furniture, and they’ll come.
Closing
Tree House Maker is one of those rare browser games that doesn’t try to do too much. It gives you a simple, satisfying loop—open boxes, place furniture, paint walls, take photos—and trusts you to find your own fun. Whether you want to build a minimalist retreat or a cozy clutter palace, the game lets you do it at your own pace. And honestly, that’s the whole point.
I’ve spent hours in this game, and I’m not ashamed to admit it. There’s something deeply satisfying about watching a bare platform turn into a warm, lived-in home. The lack of pressure is a gift. No timers, no scores, no competition. Just you, a tree, and a pile of furniture. If you’re looking for a way to unwind and flex your creative muscles without any stress, give Tree House Maker a try. You might be surprised how attached you get to your little wooden sanctuary.